How to Preserve SEO Rankings During a Shopify Migration: The Complete Guide
How to preserve SEO rankings during a Shopify migration: redirect mapping, URL inventory, change of address, technical checks and post launch monitoring in one guide with checklist.

Richard Roth
SEO & GEO Strategist
June 22, 2026
18 min read

A Shopify migration can cost you rankings you spent years building. Or it can become a clean fresh start. The difference isn’t magic. It’s a process you work through with discipline, before, during and after go-live.
The most common mistake: the store goes live, everyone celebrates, and nobody thinks about SEO anymore. Three weeks later, organic traffic drops and no one knows why. This guide makes sure that doesn’t happen to you. You preserve your rankings through three building blocks: precise redirect mapping, complete URL inventory and consistent monitoring after launch. Get those right and a well-planned migration typically stabilizes within four to six weeks, sometimes even lifting your rankings above where they were before.
- • URL inventory first: Capture every indexed URL with a full crawl before you start. It's the basis for gap-free mapping.
- • Redirect mapping: Every old URL with traffic or backlinks points via 301 directly to its final Shopify URL. No chains, no gaps.
- • Baseline before you move: Document top keywords, traffic URLs and rankings first. Otherwise you have nothing to compare against.
- • Submit the sitemap: Enter Shopify's automatic sitemap.xml in Google Search Console so Google finds the new URLs fast.
- • Validate the tech: Crawl canonicals, schema, hreflang and noindex after go-live with Screaming Frog, because they depend on your theme.
- • Monitor for at least eight weeks: Check Search Console daily in the first weeks for 404s and indexing problems.
What prerequisites and tools do you need before you start?
The most important dataset before any migration is a complete URL list of your existing store. You create it with a full crawl, ideally using Screaming Frog SEO Spider. The tool lists all indexed URLs, status codes, meta titles and canonical tags at a glance.

Besides Screaming Frog, you need access to Google Search Console. There you see which URLs Google has already indexed and which organic clicks they generate. This data is your compass when you prioritize the redirect mapping. Top URLs with strong backlink profiles always get priority, because they carry the largest portion of your link authority.
For backlink analysis, a specialized tool like Ahrefs is recommended. It shows you which external sites link to your old URLs. You lose these links if the target URL leads nowhere after migration.
Before you start, also check the redirect capacity of your Shopify plan. Shopify Standard accounts allow up to 100,000 redirects, Shopify Plus up to 20 million. For large catalogs, Cloudflare Bulk Redirects can be a sensible addition. Those who don’t plan for this beforehand face an unsolvable problem after launch.
Checklist: prerequisites before starting
- Complete crawl of all URLs with Screaming Frog
- Export of indexed URLs from Google Search Console
- Backlink analysis of your most important pages
- Check of your Shopify plan’s redirect capacity
- Setup of a monitoring spreadsheet for the post-launch period
Create a master URL table in Google Sheets with three columns: old URL, new Shopify URL and priority (high, medium, low). Sort by backlinks and organic traffic. This table is your central control document throughout the entire migration.
One caveat on the initial crawl: it only finds URLs that are actually linked. Old campaign pages, filtered category URLs and pages that only external sites still point to slip right through it. Before I trust a URL inventory, I cross-check it against the last 16 months of Search Console URLs and the pages Ahrefs shows with live backlinks, because those are exactly the ones that turn into 404s a month after launch.
How do you create precise redirect mapping for Shopify?
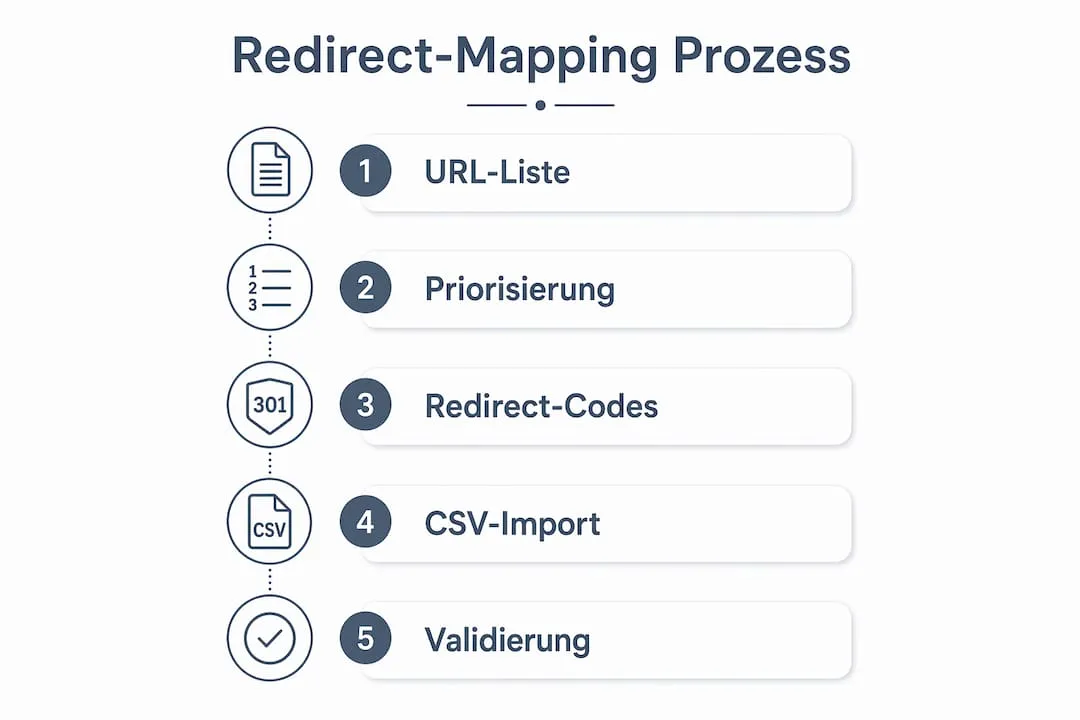
Redirect mapping is the technical core of every SEO-safe migration and the single most important task of the whole project. Missing or inaccurate URL mapping is the most common cause of traffic losses after a relaunch. Every old URL must be mapped to exactly one new Shopify URL, or you lose rankings.
301 redirects are permanent redirects. They tell Google: this page has moved for good, transfer rankings and backlinks to the new address. Without the redirect, the visitor hits a 404 page and Google eventually drops the old URL from its index. The visibility is gone.
Shopify comes with a few technical limits you should know upfront:
- Shopify supports no wildcard or regex redirects. Each URL is entered individually.
- The limit is 100,000 redirects per store on Standard plans.
- Redirects are entered relative, without the domain, so
/old-pageinstead ofhttps://domain.com/old-page. - Redirect chains (A points to B, B to C) dilute the signal transfer. Every old URL points straight to its final target.
If you want to dig deeper into why redirects matter so much during a migration, we’ve covered that in a dedicated post.
Step by step to complete mapping
- Perform a complete crawl. Start Screaming Frog before migration and export all URLs with status codes, meta data and internal links.
- Understand the Shopify URL structure. Shopify uses fixed URL patterns: products sit under
/products/, collections under/collections/. An old URL like/categories/shoesmust redirect to/collections/shoes. - Create a 1:1 mapping. Assign exactly one new target URL to each old URL. Avoid many-to-one mappings where multiple old URLs point to a single new page, unless pages are genuinely being merged.
- Define the redirect type. Use exclusively 301 redirects. A 302 signals Google a temporary redirect and transfers no link authority.
- Upload the redirects to Shopify. Shopify allows bulk import via CSV file in the “Navigation > URL Redirects” section.
- Check every redirect after go-live. Call up each old URL manually or via crawl and verify it correctly points to the new target URL.
Avoid redirect chains
Redirect chains slow down crawling and reduce transferred link authority. A chain occurs when URL A points to URL B and URL B points to URL C. Google does follow multiple hops, but each intermediate step costs signal strength. All old URLs must point directly to the final target URL, without intermediate stops.
| Situation | Recommended solution |
|---|---|
| Old category URL | Direct to new collection URL via 301 |
| Already existing redirect on old platform | Check target URL, map directly to final Shopify URL |
| Deleted product page without successor | Redirect to parent collection page |
| Many similar product URLs | Map individually, no collective redirect to homepage |
Redirects should remain live for at least 1 year, ideally permanently. Google and external links need time to fully adopt the new URLs.
After importing your redirect CSV into Shopify, check with Screaming Frog whether redirect chains have emerged. Filter the crawl by status code 301 and verify the final URL is reached directly.
Did you document a ranking baseline before you moved?
A baseline isn’t an optional step. It’s your safety net. Document top keywords, traffic URLs and backlinks before you migrate.
The reason is simple: without before-values, you can’t tell after launch whether a traffic drop comes from the migration or is just seasonal. That turns every diagnosis into a guessing game.
Export your top 50 URLs by organic traffic and note the current positions of your most important keywords. This data is your reference point for the first eight weeks. Store it next to your master URL table so both live in one place.
What must you consider with domain changes and the Change-of-Address tool?
If you also change domains during the migration, the Google Search Console Change-of-Address tool comes into play. The tool signals Google a permanent domain change, but it does not replace 301 redirects. Both measures must run in parallel.
Clear prerequisites apply for using the tool:
- Both domains must be verified in Google Search Console
- The 301 redirects from the old to the new domain must already be active
- Google checks redirect behavior during the validation process
- The tool is only available for root domains, not for subdirectories
The transfer phase lasts around 180 days. During this time, Google gradually adopts the new domain as the authoritative source. Rankings can fluctuate slightly during this phase. This is normal and not a sign of error.
A common mistake is using the tool too early, before all redirects are correctly implemented. Google validates redirect behavior when you use the tool. If redirects are missing or set incorrectly, validation fails.
The Change-of-Address tool alone does not protect against ranking losses. Only the combination of redirect mapping, the Change-of-Address tool and content consistency ensures a successful domain migration.
Is the sitemap submitted in Search Console?
Submitting the sitemap is the fastest way to show Google your new URLs. Shopify automatically generates a sitemap.xml in the root directory of your store, with links to products, collections, blogs and pages.
Here is how you submit it:
- Open Google Search Console and select your property.
- Go to “Indexing” in the left menu, then “Sitemaps”.
- Enter
sitemap.xmland click “Submit”. - Check after a few days how many URLs were discovered.
- Verify that your important pages show “Indexed” status.
Handy detail: Shopify updates this sitemap dynamically as soon as content changes. One thing to keep in mind though: the sitemap is a discovery tool, not an indexing guarantee. Inclusion can take days to weeks. If nothing is indexed after three days, that’s no reason to panic and force corrections.
Use Search Console’s URL Inspection tool to manually push your most important product and category pages for indexing. That speeds up the pages that actually matter.
Are canonicals, schema and hreflang correct after go-live?
Technical SEO signals are the most error-prone part of a migration because they hang on your theme. This is exactly where it gets tricky: canonical tags, structured data and hreflang depend heavily on the Shopify theme in use and look different from theme to theme.
These points belong on your checklist:
| Element | What to check | Typical error |
|---|---|---|
| Canonical tags | Does every page point to its correct canonical URL? | Duplicate or missing canonicals |
| Schema markup | Are product, breadcrumb and organization data present? | Missing or faulty structured data |
| Hreflang | Are language versions correctly linked? | Wrong language codes, missing return tags |
| Meta titles and descriptions | Does each page have unique values? | Duplicate or empty meta data |
| Robots and noindex | Is no important page blocked? | Noindex on products or categories |
For validation, use the Google Rich Results Test for schema markup and Screaming Frog for a full crawl. Faulty canonical or hreflang signals make the wrong page rank or leave international versions unassigned. How to set canonicals cleanly during the switch, we break down in our guide on the role of canonical tags during migration.
A word on robots.txt and noindex, because they hide the nastiest traps. Shopify has its own robots logic. By default, it blocks areas like /admin, /cart or /checkout. That’s correct and intended. It gets dangerous when a theme or app accidentally sets noindex on product pages or categories. A single misplaced noindex on an important category page can cost you weeks.
Crawl your store right after go-live with Screaming Frog, filter for “Noindex” and check every page that shows up. Shopify now lets you edit robots.txt via Liquid. Only do that if you know exactly what you’re doing. When in doubt, stick with the defaults.
And a classic almost everyone forgets: the alt texts of your product images. Spot-check whether your images carry descriptive alt texts. It helps accessibility and earns you visibility in image search.
Don’t forget the images. Broken image URLs and missing redirects on media hurt your SEO and your user experience just as much as broken page redirects.
Is your meta data complete after the import?
Shopify doesn’t carry over meta titles and descriptions cleanly from every source system. During a JTL to Shopify migration or a switch from Shopware to Shopify, meta data often gets lost or falls back to defaults: product name as title, no description at all.
After launch, export all URLs with Screaming Frog and check the columns for Title, Description and H1. Fix pages with no description or duplicate titles right away, starting with your top 20 by traffic. Which fields tend to break during the product import, we cover in our guide on product data migration to Shopify.
Shopify’s URL structure is partly fixed. Products sit under /products/, collections under /collections/. If your old URLs followed a different pattern, the redirects from the mapping step matter even more.
One point people change too casually: don’t rewrite title tags and meta descriptions of well-ranking pages during the migration without checking their rankings first. Changing meta data without coordination can strip relevance from pages that were performing fine.
How do you monitor the store after launch?
Systematic monitoring is the fastest way to catch problems before they settle into your rankings. It is not a one-time event. It is a continuous process that runs for at least three months after go-live, with the tightest attention in the first eight weeks. Don’t rely on overall traffic. Watch specific top URLs, redirects and indexing status.
Your post-launch monitoring setup:
- Screaming Frog: Daily crawl of the new Shopify domain, focus on 404 errors and redirect chains.
- Google Search Console daily: Look under “Pages” for new 404s and add missing redirects immediately. Weekly, check coverage, indexing errors and click development.
- Compare rankings: Hold the current positions of your top keywords against the baseline you documented. A short dip is normal.
- Server logs: Analyze which URLs Googlebot actually crawls and whether 404 errors occur.
- Traffic and conversions: Compare organic sessions and conversion rates for the four weeks before and after the switch.
- Core Web Vitals: Measure load time and interactivity in the new theme monthly, because they feed directly into rankings.
Which metrics are worth tracking and how to set them up cleanly, you’ll find in our guide to e-commerce KPIs after migration.
If you see no significant ranking losses after four to six weeks, the migration went technically clean. Persistent losses after this period almost always point to faulty redirects or missing indexing.
Set up an email alert in Search Console for new crawl errors. That way you hear about a 404 before it costs you rankings, without having to check manually every day.
There’s one more signal that many guides skip: AI visibility. SEO authority stays relevant for AI search systems too. Besides technical redirects, you need brand consistency across all channels so AI-based search queries correctly identify your store. If your brand name or product categories are named differently after the migration than before, you don’t just lose classic rankings, you also lose the association in AI-powered answers. Keep brand name, product names and descriptions consistent after migration. Brand consistency is not a marketing topic here. It’s a technical SEO topic.
What common SEO migration mistakes should you avoid?
Most ranking losses after migration have the same causes. Knowing them helps you avoid them.
- Incomplete redirect mapping: Not all URLs are captured because the initial crawl was incomplete. Filter pages, pagination pages and old campaign URLs especially often fall through the cracks.
- Wrong redirect types: A 302 instead of a 301 transfers no link authority. Google treats 302 redirects as temporary and keeps the old URL in the index.
- Redirect chains: These often arise when redirects already existed on the old platform and were not cleaned up before mapping.
- Changed meta data without coordination: If title tags and meta descriptions are adjusted during migration without first checking the rankings of affected pages, well-ranking pages can lose relevance.
- No monitoring after launch: Many shop operators check the migration once and then switch off. But errors often only show up when Googlebot crawls the new URLs.
- Scaling problems with large catalogs: For shops with over 100,000 URLs, the redirect capacity of Shopify Standard accounts may not be enough.
The central point remains: the most important ranking risk factor in migrations is the implementation of redirects, not the platform itself. Shopify is technically solid. What determines success or failure is the quality of your redirect setup.
Treat the migration as a chance to clean up
A migration isn’t a blind copy of the old store. It’s the best moment to shed old SEO debt instead of dragging it along.
What that means in practice:
- Pages with barely any traffic and no backlinks don’t all have to come along.
- Duplicate category pages can be consolidated.
- Product pages with thin content get upgraded before the move.
Treat the migration as a fresh start and you end up with a technically cleaner store and a better base for organic growth. Plenty of merchants underestimate that advantage when they migrate to Shopify from Magento or JTL.
What over 45 migrations taught us about SEO
Most SEO problems after a Shopify migration don’t come from Shopify. They come from a lack of preparation. Sounds trivial, but it’s the takeaway from dozens of projects.
Redirect mapping is the most underestimated piece. I’ve seen one mistake repeatedly: mapping gets treated as a one-time task you check off and forget. In practice, it’s a living document. New 404 errors appear because external sites link to URLs that weren’t captured in the initial crawl. Old campaign URLs that were active years ago suddenly show up again in the traffic report. Merchants with thousands of product URLs whose structure changes completely tackle the mapping only after go-live, and they lose weeks. We’ve seen stores that took three months to recover from a patchy redirect setup.
What really works is a systematic crawl test after go-live, where each redirect is checked individually. Regular technical audits and manual tracking of redirect chains are not a luxury, they’re mandatory. My practical advice: split the SEO migration into three phases. Baseline and redirects before launch. Sitemap and technical checks on launch day. Daily monitoring in the first eight weeks. When SEO and development work closely together, you catch problems before they reach your rankings.
My advice: plan the migration as if Google would manually check every single redirect. Because essentially, that’s what it does.
Gap-free redirect mapping and clean post-launch monitoring take time and experience. That’s exactly what we take off your plate. We’ve migrated over 45 shops to Shopify at a fixed price, and we make sure your data and rankings survive the switch. Request your free potential analysis.
 Frequently Asked Questions
 How do I preserve SEO rankings during a Shopify migration?
How long does it take for rankings to stabilize after a Shopify migration?
How do I submit the Shopify sitemap after migration?
Which technical elements must I check after migration?
Why do I need a ranking baseline before migrating?
What happens if I don't clean up redirect chains?
Do I need the Change-of-Address tool for every Shopify switch?
Why is manual migration error-prone?
You might also like
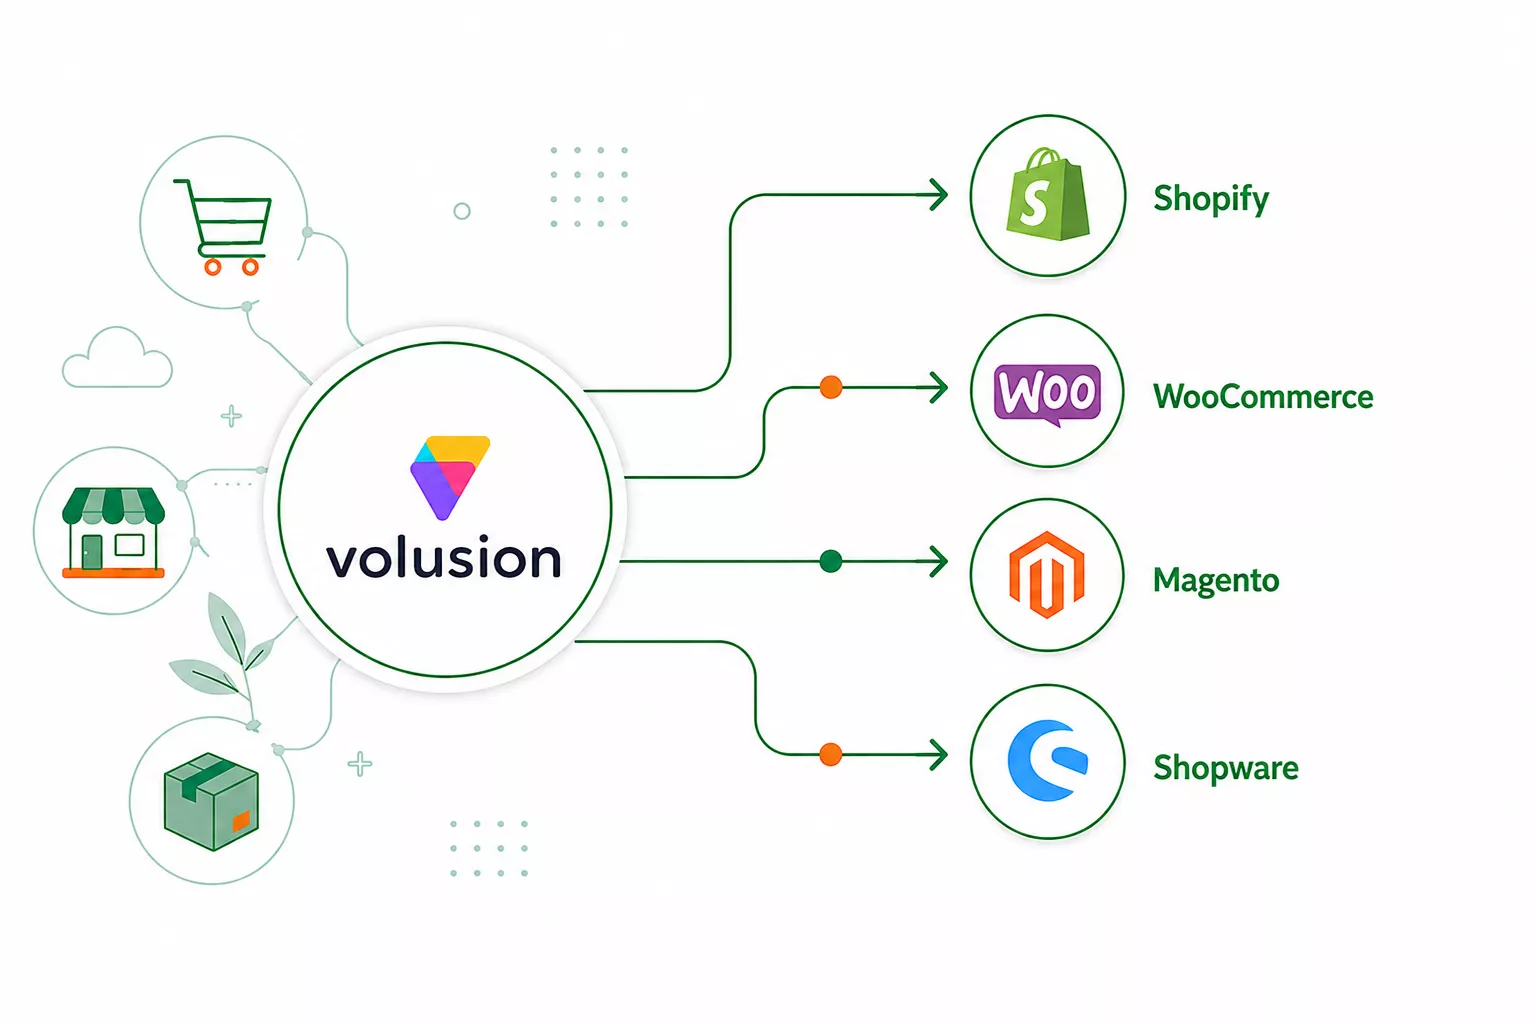
Volusion Alternatives 2026: Modern, Future-Proof and Conversion-Strong
Volusion alternatives compared: a modern, future-proof system with a strong checkout and active ecosystem instead of an outdated base. With a recommendation.

Etsy Alternatives 2026: Which Platform Fits Your Brand
Etsy alternatives compared: your own store with your own brand and customer data instead of 10-15% fees. Who should switch, with a clear recommendation.
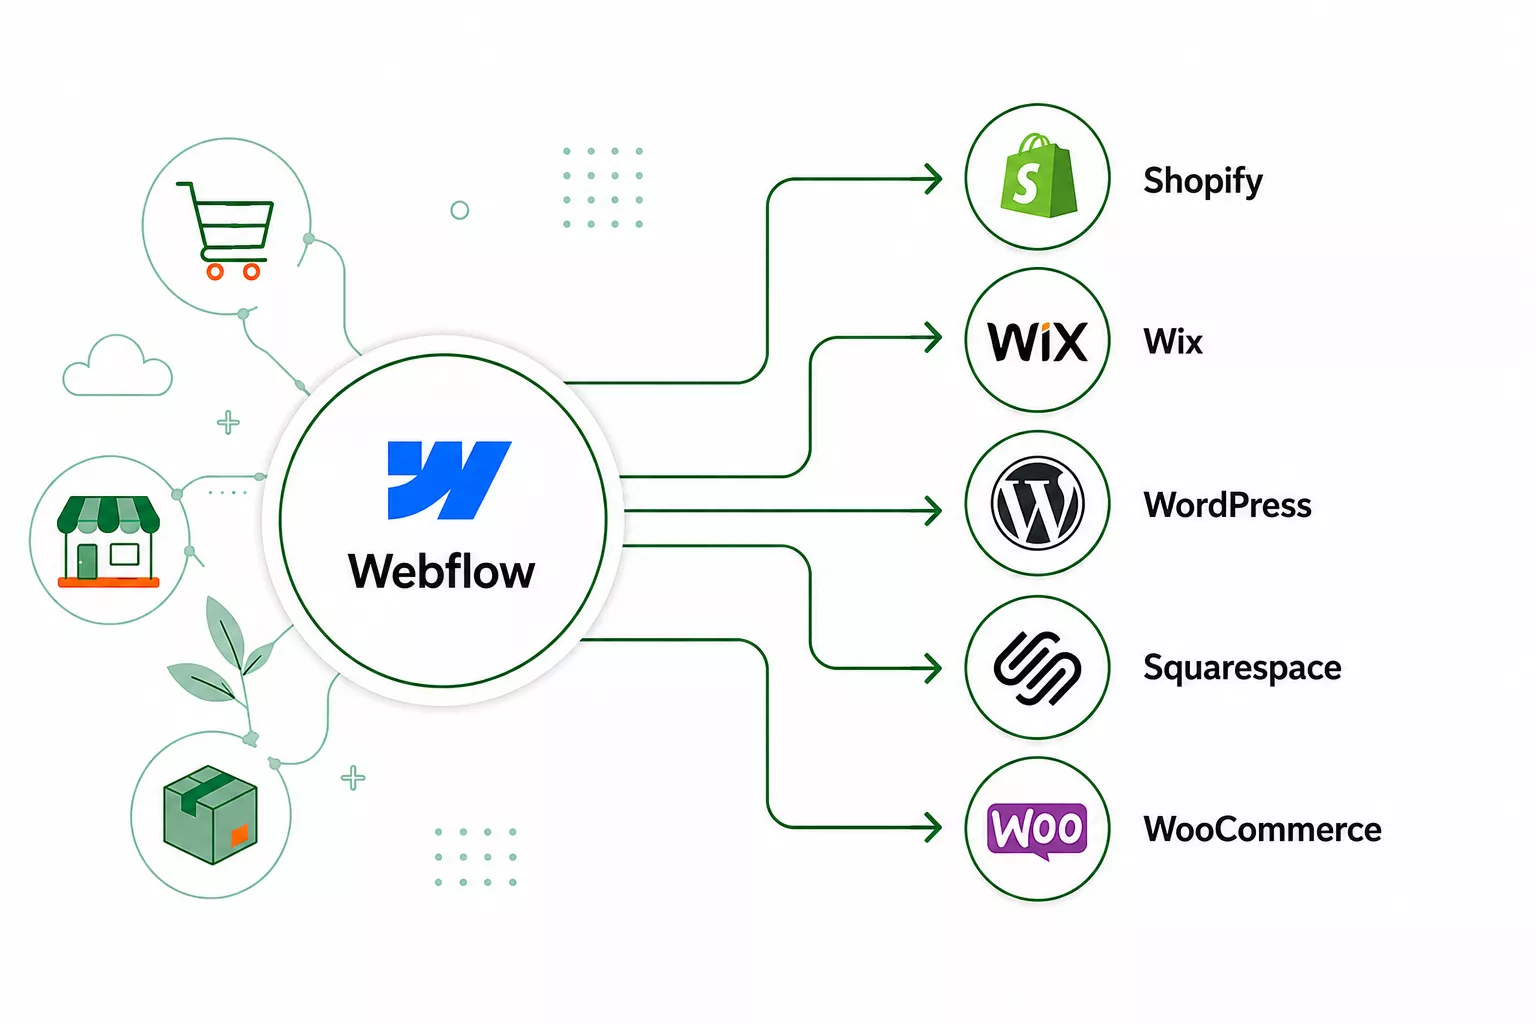
Webflow Alternatives 2026: The Shop Systems Actually Worth It
Webflow alternatives compared: real selling depth with subscriptions and more payment methods, while the strong design and CMS stay. With a recommendation.